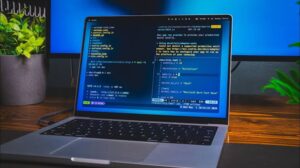
If you’re a Mac user who loves customization, you’re in for a treat! The default macOS menu bar is functional, but it lacks flexibility and personalization. That’s where Sketchybar comes in—a powerful tool that lets you create a custom menu bar that matches your workflow and aesthetic preferences.
In this guide, we’ll walk you through how to make an amazing custom menu bar for your Mac using Sketchybar. By the end, you’ll have a sleek, personalized menu bar that enhances both functionality and style.
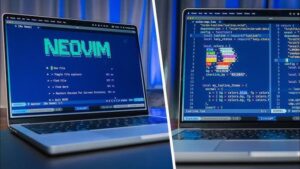
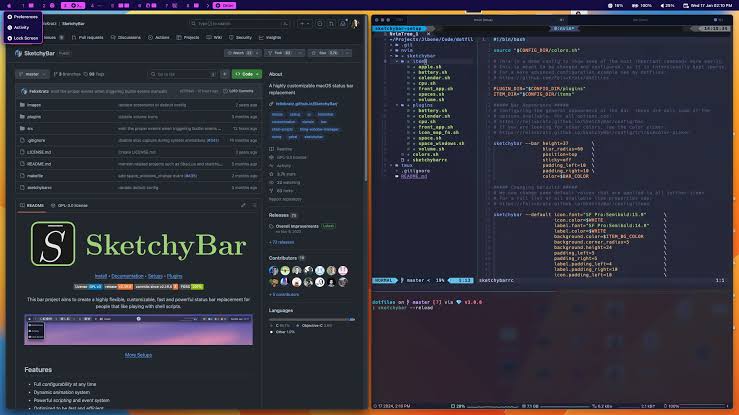
What is Sketchybar?
Sketchybar is a highly customizable macOS menu bar replacement that allows you to create widgets, display system stats, and modify appearance settings. Unlike the default menu bar, Sketchybar provides full control over its components, enabling advanced users to tailor it to their needs.
Why Use Sketchybar?
- Complete customization – Change icons, colors, and positioning.
- System stats monitoring – Display CPU, RAM, network usage, and more.
- Application shortcuts – Quickly launch apps from the menu bar.
- Minimalist and sleek design – Create a menu bar that complements your setup.
Step 1: Installing Sketchybar
Before you start, you’ll need to install Sketchybar. The easiest way to do this is via Homebrew.
Install Homebrew (if you haven’t already)
/bin/bash -c "$(curl -fsSL https://raw.githubusercontent.com/Homebrew/install/HEAD/install.sh)"
Install Sketchybar
brew install sketchybar
After installation, start Sketchybar with:
sketchybar --start-service
Step 2: Configuring Sketchybar
Once installed, Sketchybar uses a configuration file (~/.config/sketchybar/sketchybarrc) to define how your menu bar looks and behaves.
Create the Configuration Directory
mkdir -p ~/.config/sketchybar
nano ~/.config/sketchybar/sketchybarrc
Now, you can start adding items to your menu bar.
Step 3: Adding Items to Your Custom Menu Bar
Basic Example: Adding a Clock
Add the following line to sketchybarrc:
sketchybar --add item clock right \
           --set clock script="date '+%H:%M:%S'" update_freq=1
This will display a live clock on the right side of your menu bar.
Adding a CPU Usage Widget
sketchybar --add item cpu right \
           --set cpu script="top -l 1 | awk '/CPU usage/ {print $3}'" update_freq=5
This command fetches CPU usage and updates it every 5 seconds.
Step 4: Customizing the Look and Feel
Changing Fonts and Colors
Modify the appearance by adding:
sketchybar --set clock icon.color=0xff5f87af label.font="SF Pro:Bold:14.0"
This changes the font to SF Pro and updates the color.
Adding Icons to the Menu Bar
You can use emoji or custom icons:
sketchybar --set clock icon=⏰
Step 5: Adding Application Shortcuts
Adding a Chrome Shortcut
sketchybar --add item chrome left \
           --set chrome script="open -a 'Google Chrome'" icon=🌐
Now, clicking this will open Google Chrome.
Step 6: Enhancing Sketchybar with Plugins
Sketchybar supports external scripts and plugins. You can write scripts in Bash, Python, or AppleScript to extend functionality.
Example: Battery Percentage Plugin
Create a script in ~/.config/sketchybar/plugins/battery.sh:
#!/bin/bash
pm_stat=$(pmset -g batt | grep -Eo "[0-9]+%")
echo "Battery: $pm_stat"
Then, add it to Sketchybar:
sketchybar --add item battery right \
           --set battery script="~/.config/sketchybar/plugins/battery.sh" update_freq=30
This will display your battery percentage and update every 30 seconds.
Step 7: Automating Sketchybar Startup
To ensure Sketchybar starts when you log in:
mkdir -p ~/Library/LaunchAgents
nano ~/Library/LaunchAgents/com.user.sketchybar.plist
Add the following:
<?xml version="1.0" encoding="UTF-8"?>
<!DOCTYPE plist PUBLIC "-//Apple//DTD PLIST 1.0//EN" "http://www.apple.com/DTDs/PropertyList-1.0.dtd">
<plist version="1.0">
    <dict>
        <key>Label</key>
        <string>com.user.sketchybar</string>
        <key>ProgramArguments</key>
        <array>
            <string>/usr/local/bin/sketchybar</string>
            <string>--start-service</string>
        </array>
        <key>RunAtLoad</key>
        <true/>
    </dict>
</plist>
Then, load it with:
launchctl load ~/Library/LaunchAgents/com.user.sketchybar.plist
Conclusion
Creating a custom menu bar for your Mac using Sketchybar is a fantastic way to personalize your macOS experience. Whether you want to monitor system stats, launch apps quickly, or improve aesthetics, Sketchybar gives you the power to do it all. Now that you’ve set up your custom menu bar, you can continue tweaking it to make it truly your own.